Create your own Apps in the Discovery Environment (DE)
Why use the DE?
- Use hundreds of bioinformatics Apps without the command line (or with, if you prefer)
- Batch and interactive modes
- Seamlessly integrated with data and high performance computing -- not dependent on your hardware
- Create and publish Apps and workflows so anyone can use them
- Analysis history and provenance -- "avoid forensic bioinformatics"
- Securely and easily manage, share, and publish data
Apps vs Tools
Tool: A "tool" is essentially a container image. The image must be hosted on a public container registry (like the Docker Hub, Biocontainers, NVIDIA GPU Cloud, etc.) or the CyVerse Harbor Registry. Each "Tool" uses a template editor which is internal to the DE for defining the registry/image-name:tag of the image, its working directory, and runtime environment.
App: a simple graphic interface for running the Tool in the DE with any special commands or input requirements defined in the App template. Apps can have different flavors:
-
Executable: user starts an analysis and when the analysis finishes they can find the output files in their
/analysesfolder- DE: run locally on our cluster
- HPC: run at the Texas Advanced Computing Center (TACC)
- OSG: run on the Open Science Grid
-
Interactive: also called Visual and Interactive Computing Environment (VICE). Allows users to open Integrated Development Environments (IDEs) including RStudio, Project Jupyter and RShiny and work interactively within them.
![]() HPC apps must be created through the Tapis API.
HPC apps must be created through the Tapis API.
![]() For all other app types,
the (containerized) tool must be integrated into the CyVerse DE first. Then an app (interface) can be built for that tool.
For all other app types,
the (containerized) tool must be integrated into the CyVerse DE first. Then an app (interface) can be built for that tool.
Adding a Tool
Check for existing Tools first
It is a good idea to check if the tool you want is already integrated before you start. The tool may be there already and you can build an app using it.
-
Log into the
 Discovery Environment.
 -
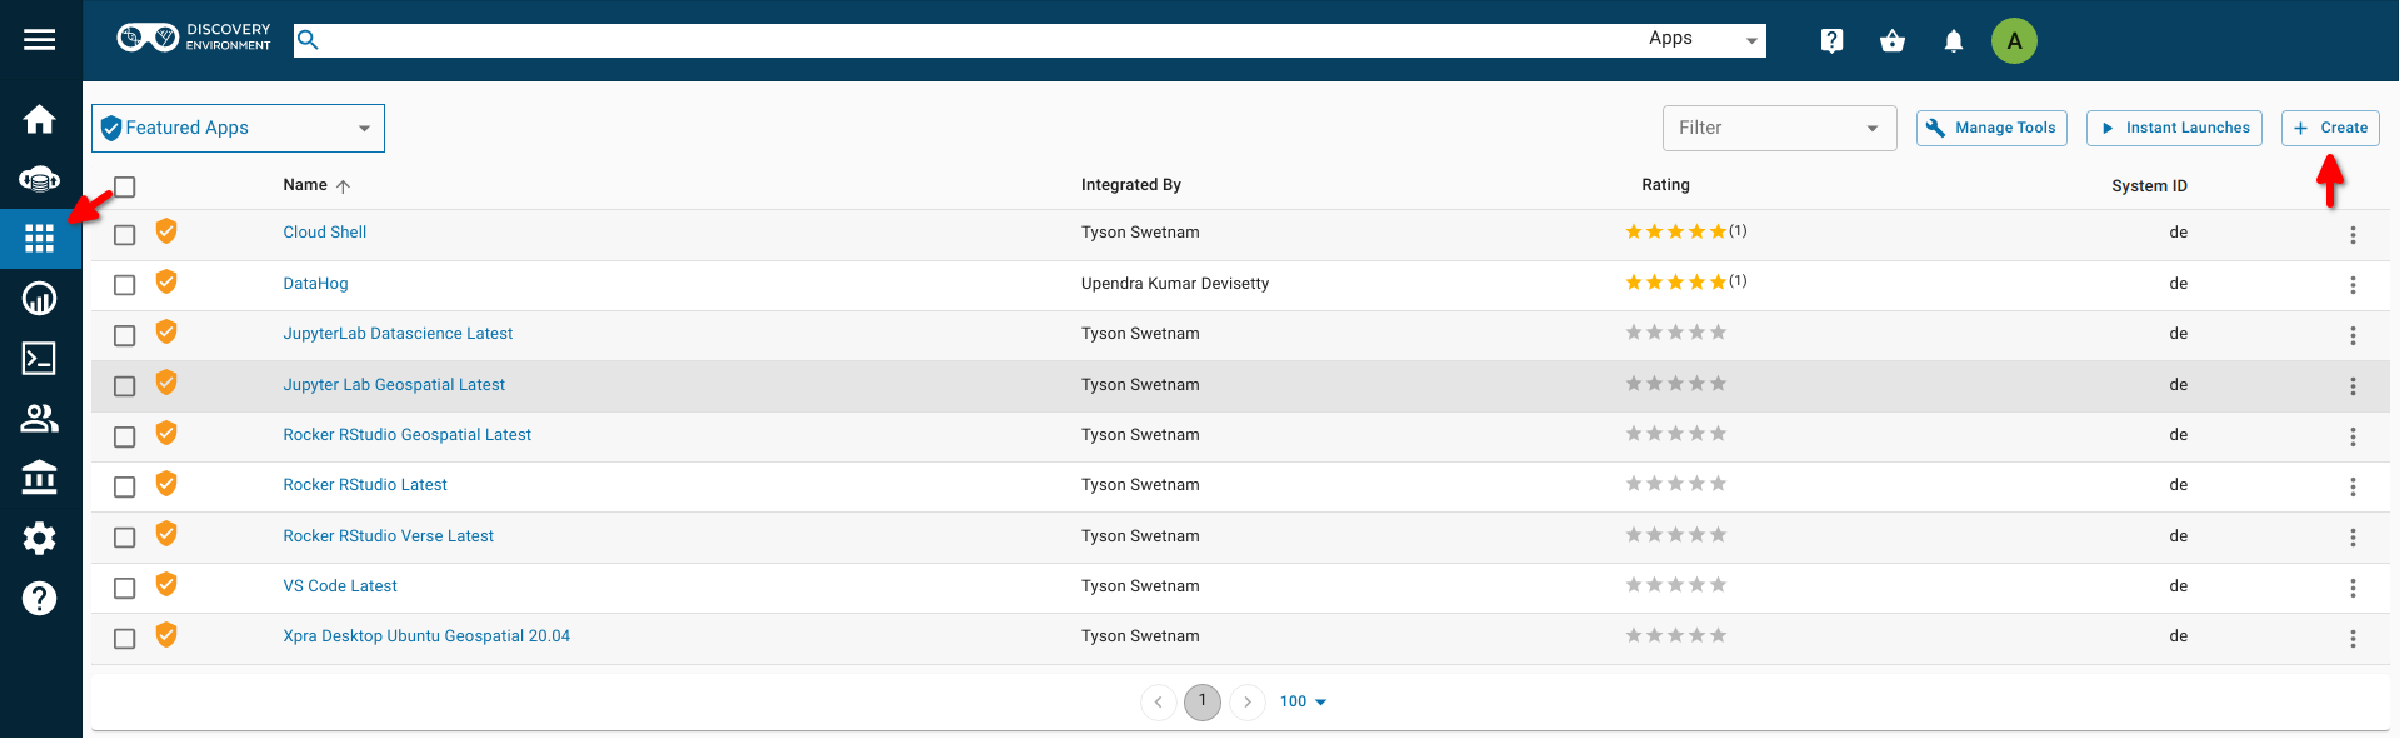
Click the
 Apps and click on the "Manage Tools" wrench icon.
 -
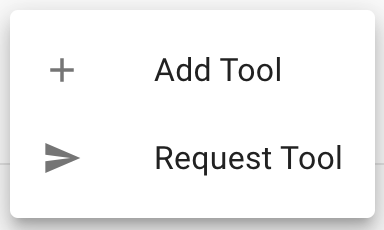
You'll see a list of all of the tools in the DE. You can search for the tool you want to see if it has already been integrated. If you can't find it, click on "More Actions"

and select "Add Tool".
The template editor will open with the following fields will need to be completed (note: not all fields are required) before the Tool can be run.
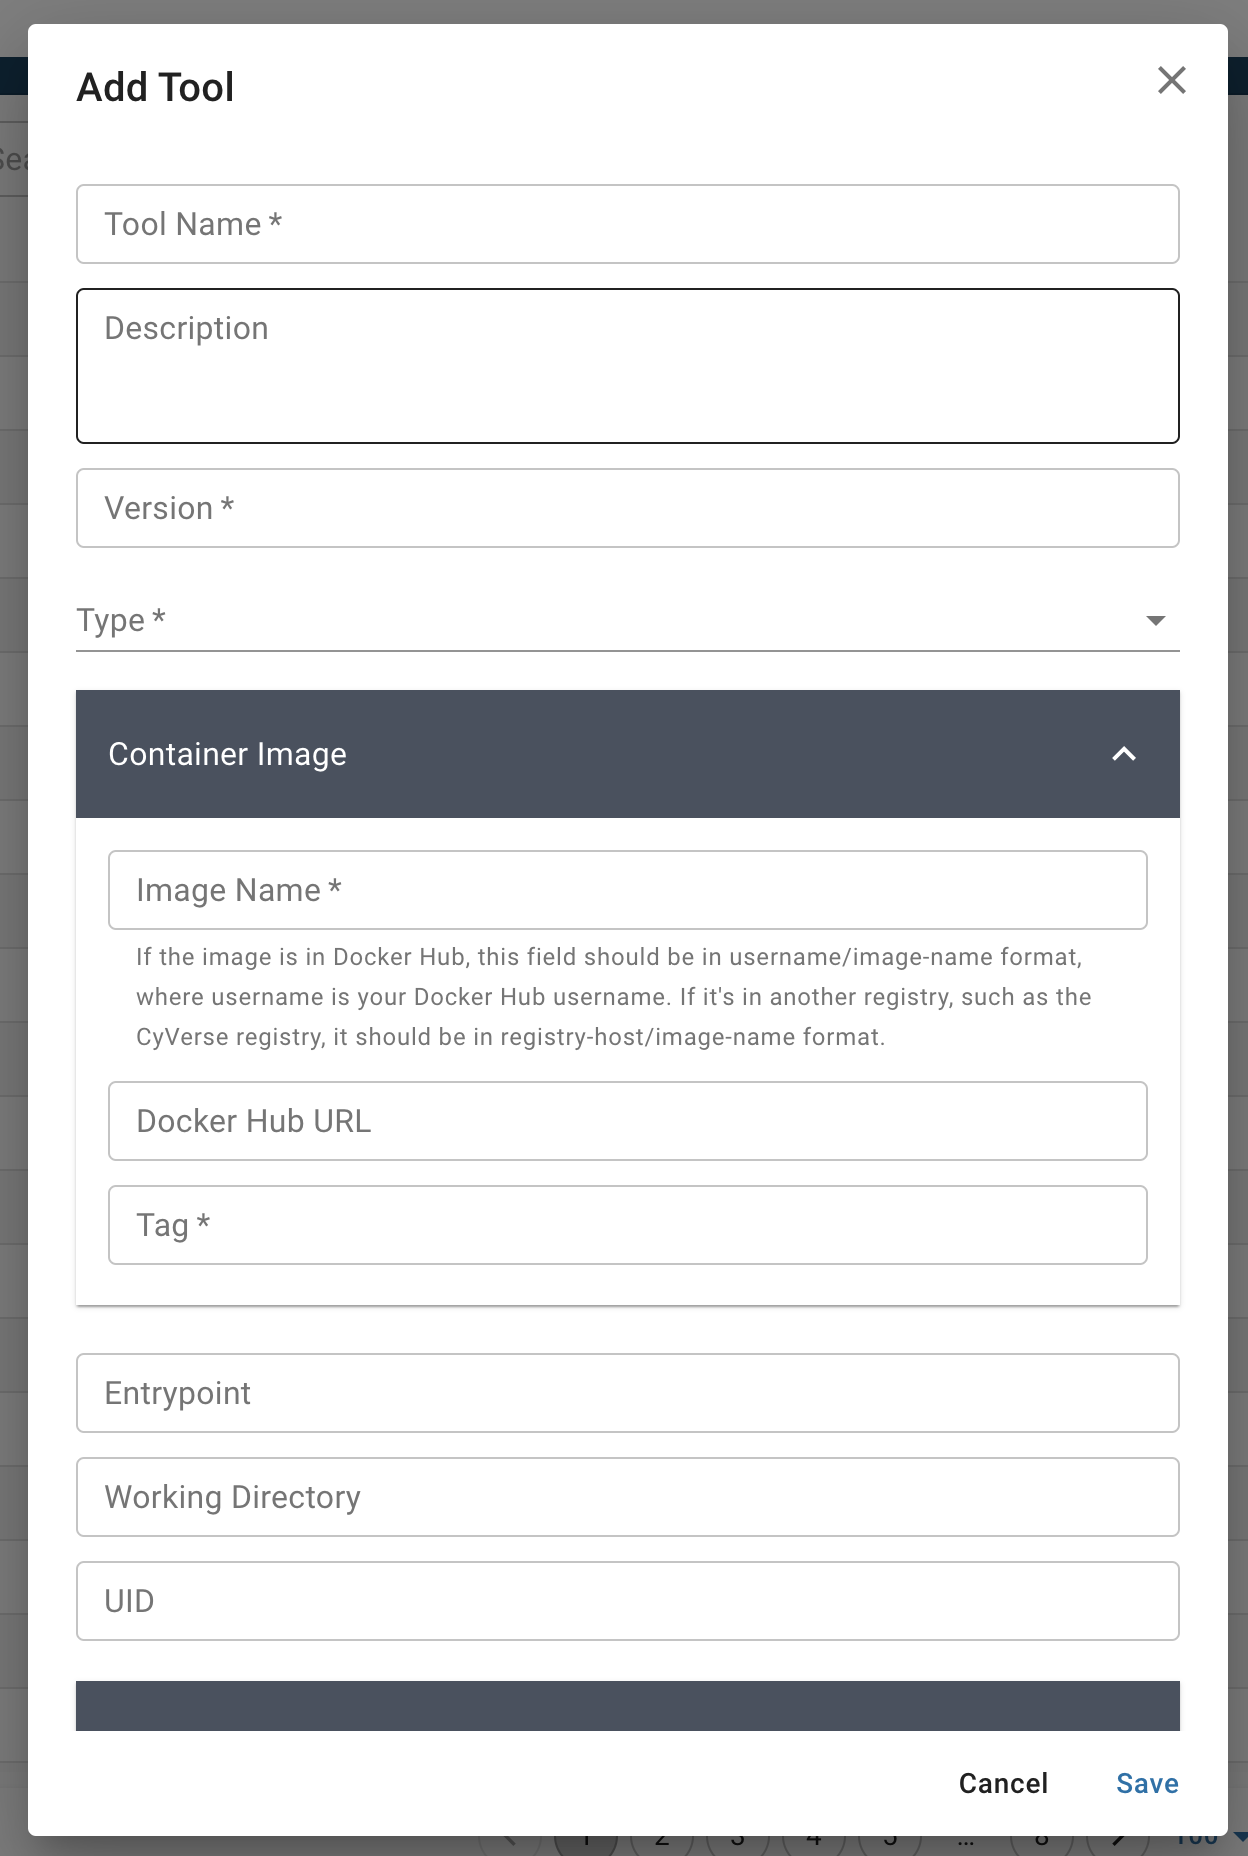
Add Tool
Tool nameis the name of the tool. This will appear in the DE's tool listing dialog. This is mandatory field.descriptionis a brief description of the tool. This will appear in the DE's tool listing dialog.versionis the version of the tool. This will appear in the DE's tool listing dialog. This is mandatory field.Typeis the type of tool. For command line applications, choose "executable".
Container Image
Image nameis the name of the image and its public registry. This is mandatory field.Tagis the image tag. If you don't specify the tag, the DE will look for thelatesttag which is the default tag.-
Docker Hub URLis the URL of the image on Dockerhub. -
Entrypointis the Entrypoint for your tool. Entrypoint should be present in the Docker image, and if not, you should specify it here. Working Directoryis the working directory of the tool.WORKDIRshould be present in the Docker image, and if not, you should specify it here.
Restrictions
Max CPU Coresis the number of cores for your tool, e.g., 16Memory Limitis the memory for your tool, e.g., 64 GBMin Disk Spaceis the minimum disk space for your tool, e.g., 200 GB
Building an App for Your Tool
You can build an app for any tool that:
- is private to you
- is shared with you
- is public
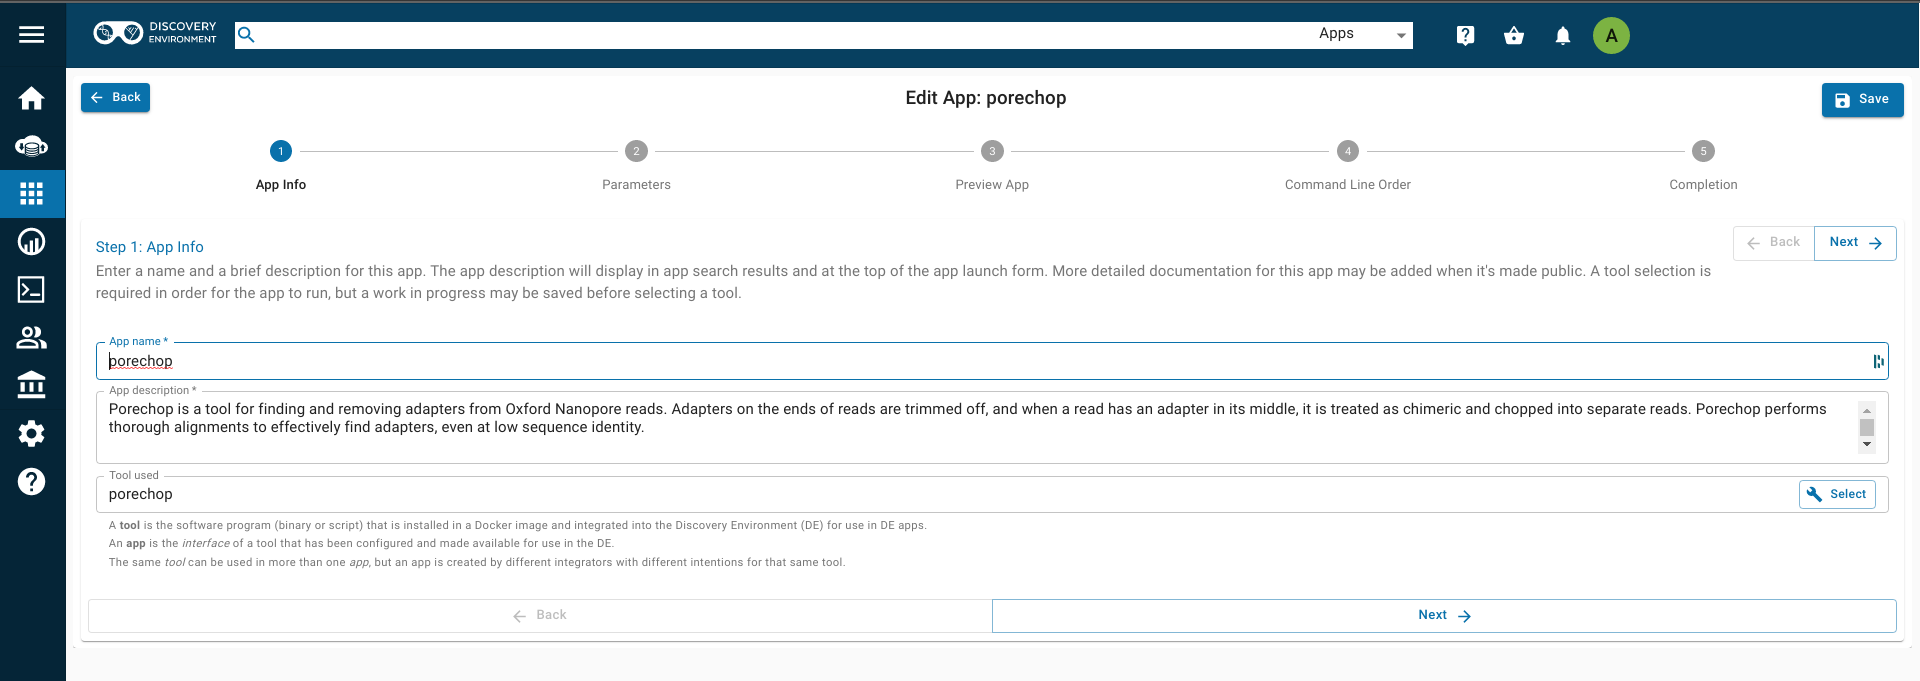
Step 1: App Info
From the 'Apps' tab click on the 'Create' button in the top right corner and select 'Add App'. Choose an informative app name and description (eg. tool name and version). Select the tool you want to build the app on buy clicking the 'select' button. This will open the 'search tools' window. Search for and select your tool.
Step 2: Parameters
Divide the app into sections appropriate for that tool (input, options and output are usually sufficient sections for simple apps). You can add a section by clicking on the 'Add Section'. Once you have added a section you can edit the name by clicking on the pencil icon (right side). Within a section you can add the parameters necessary for your tool by clicking on 'Add Parameter' and choosing the type of parameter you want to add (e.g. input file). For each option you add, you will need to specify what the option is, the argument option (if there is one) and whether that option is required. If an option is not required be sure to check the 'exclude if nothing is entered' box. For tools that have positional arguments (no argument option, eg. -i) you can leave argument option blank but you will need to make sure your arguments are in the proper order in step 4.
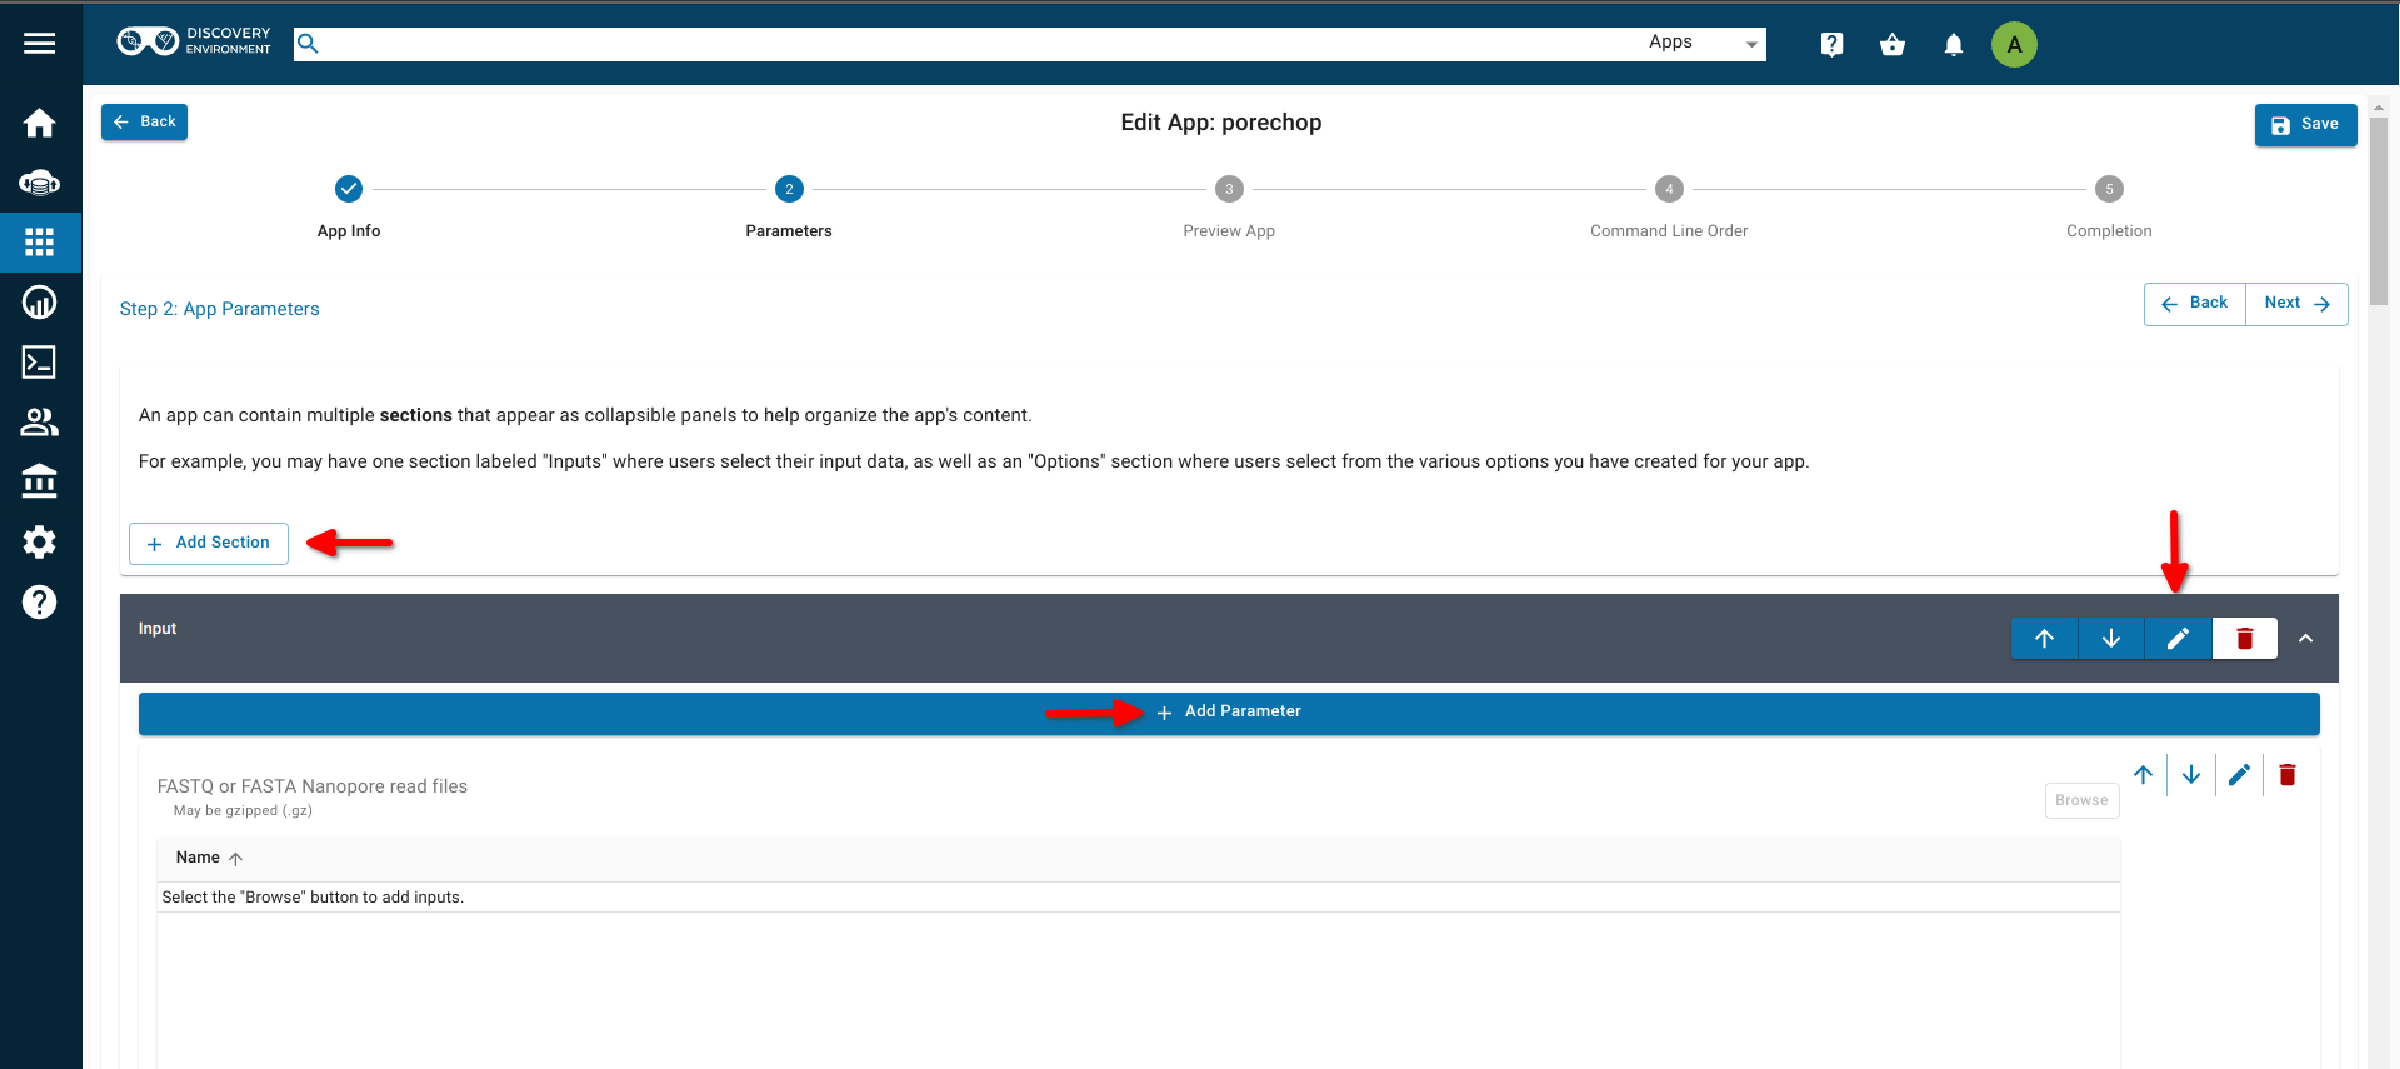
Note: Although it is best to add all of the options for your tool, as it makes the app the most useful, you can expose as many or as few options as you like (as long as you add all the required options).
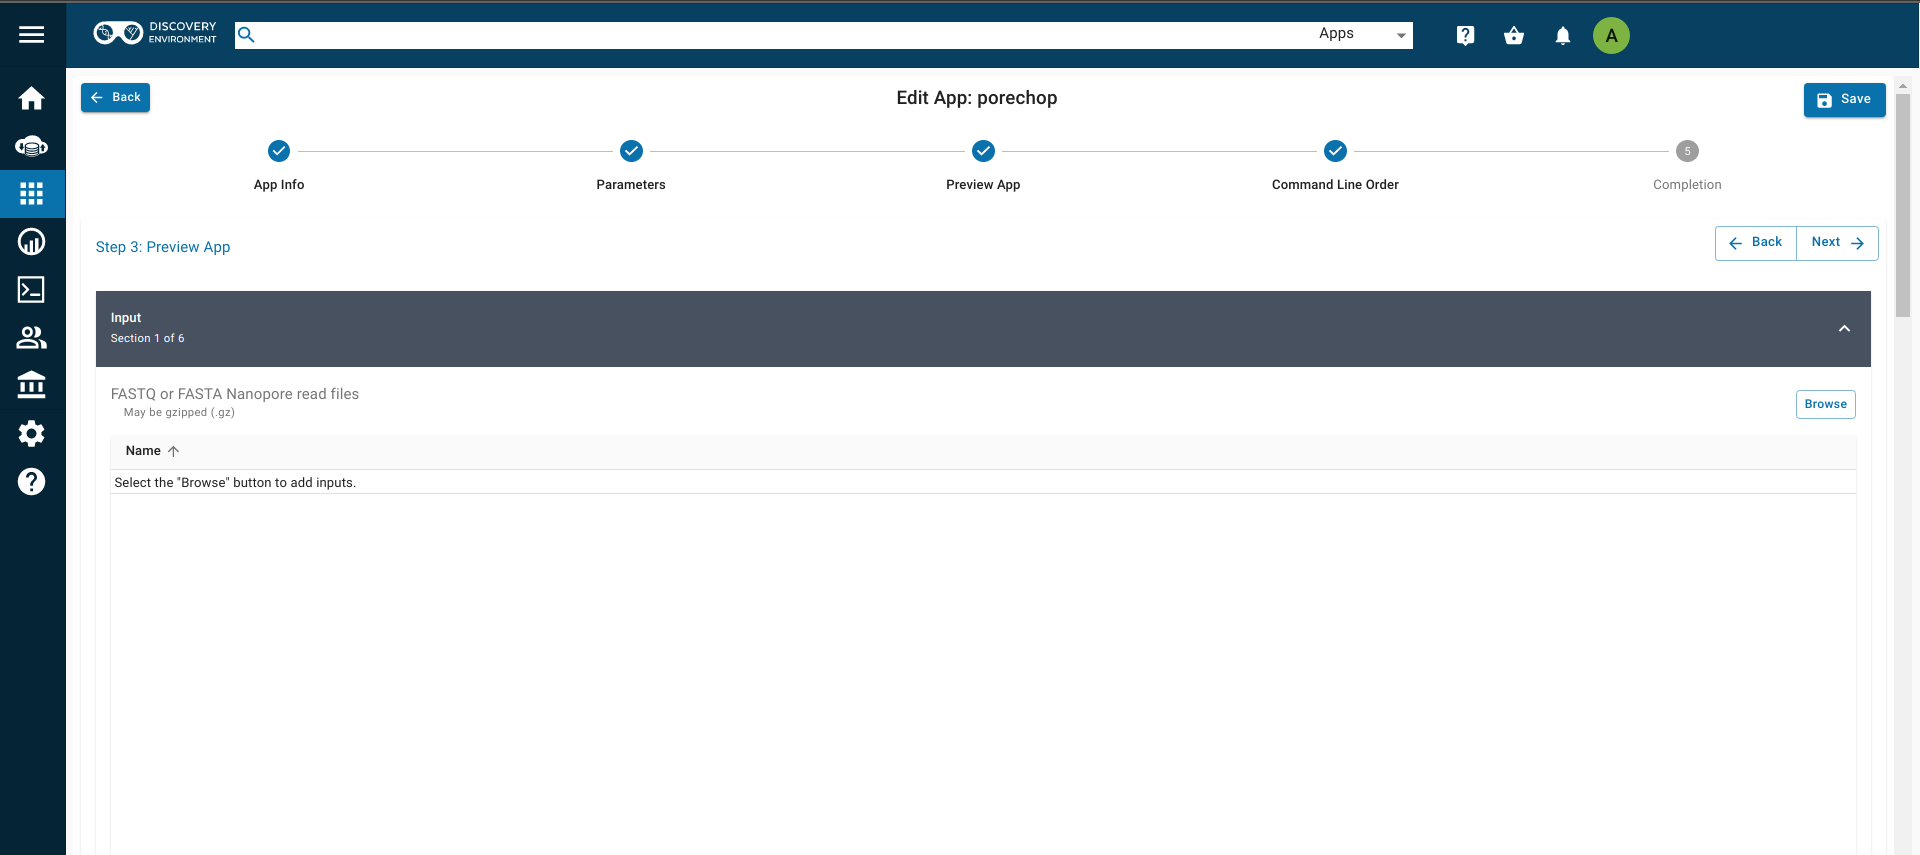
Step 3: Preview App Make sure your app looks the way you want it to and that you have included all of the required options. If you need to make changes use the back button to return to the previous step.
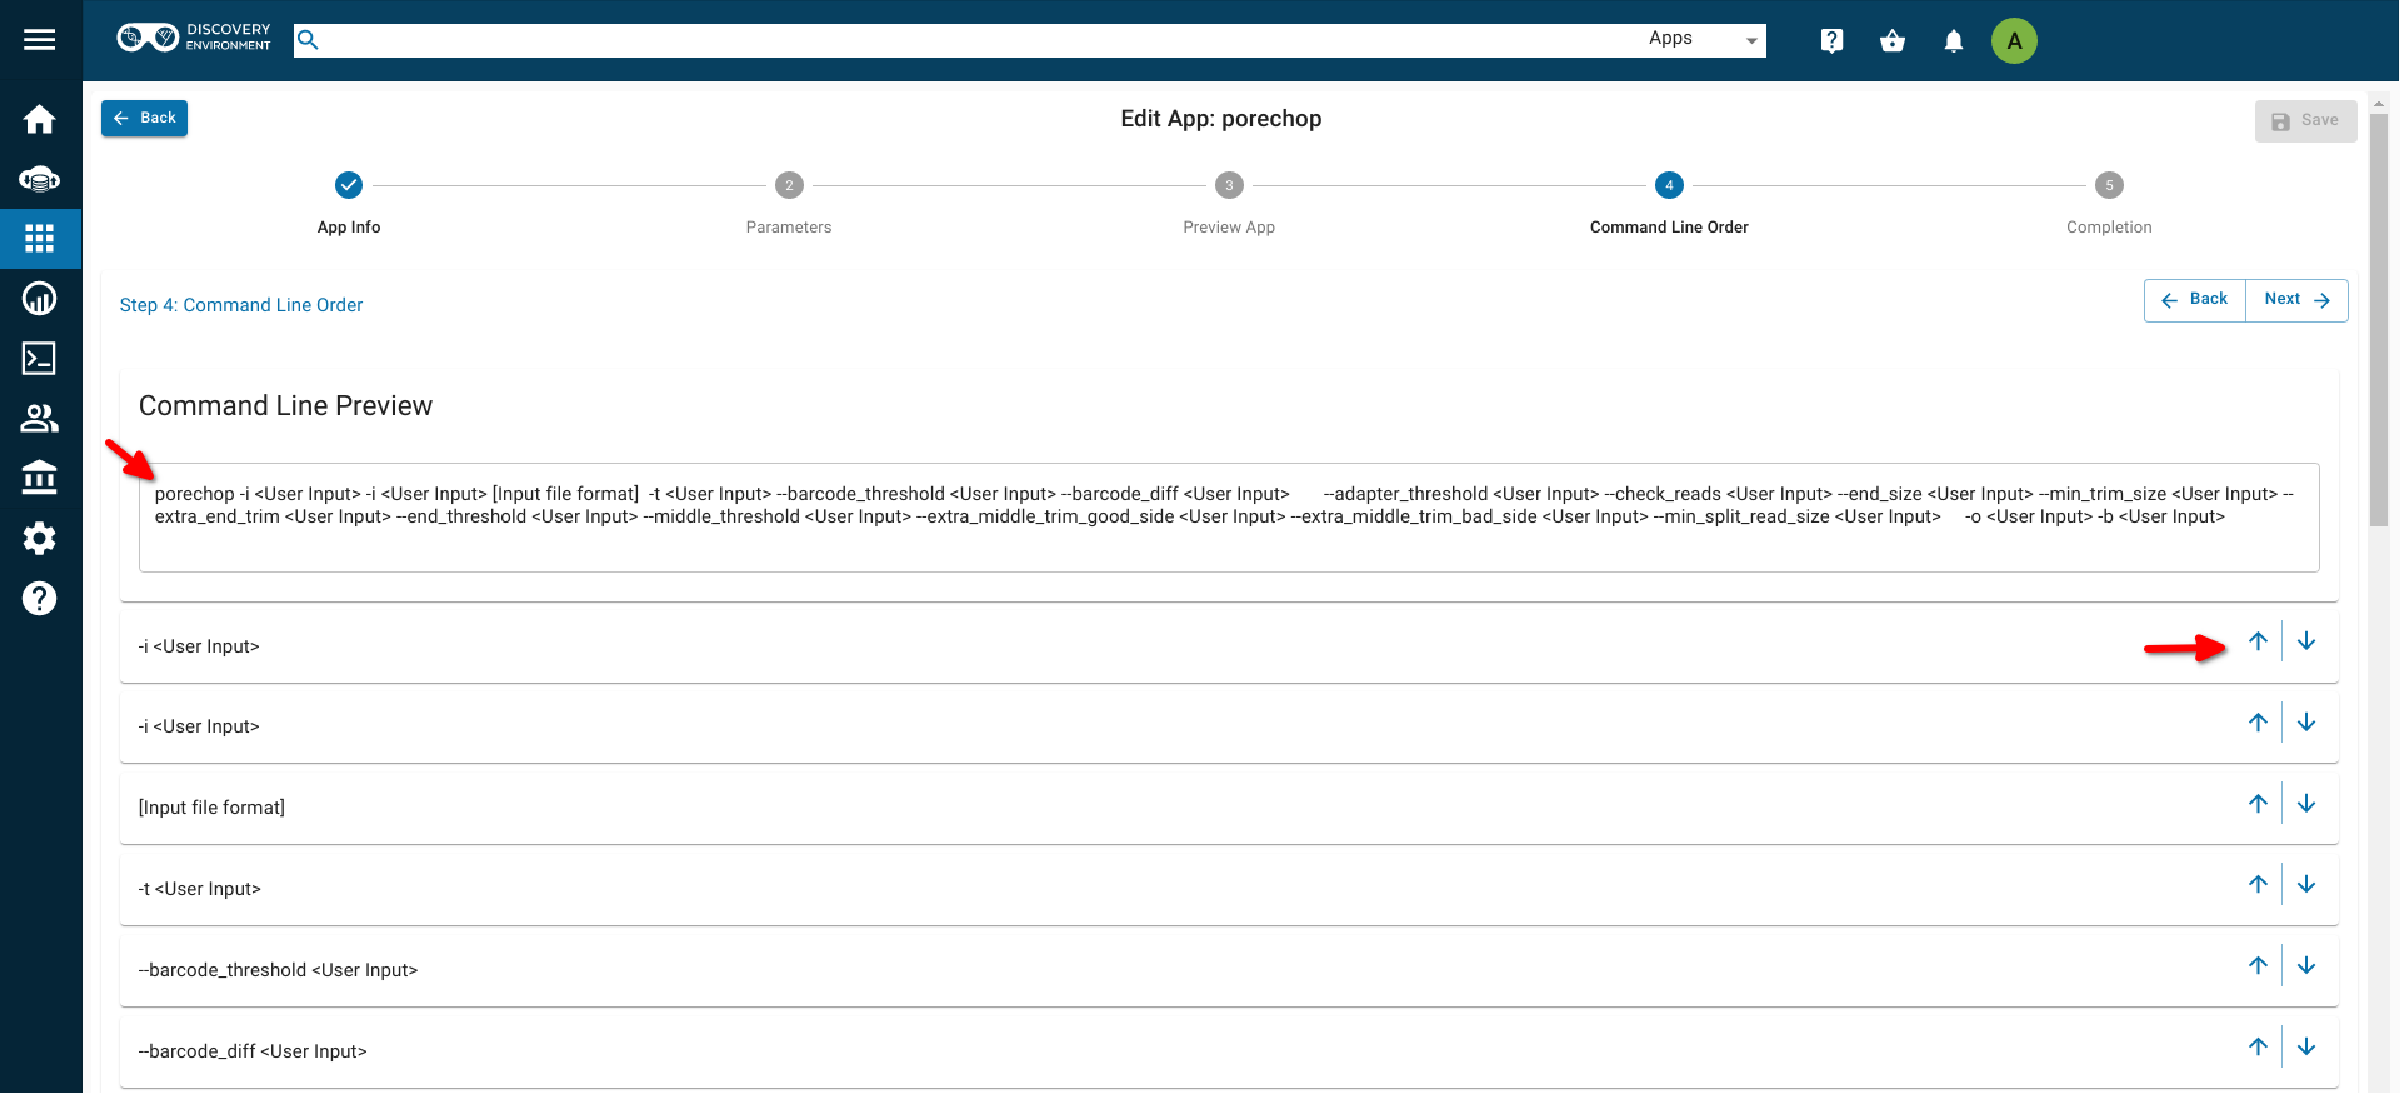
Step 4: Command Line Order
This will provide a preview of what your options will look like on the command line. In the list of options below, use the up and down arrows to the right of the option to move it up or down in the list. You should see these changes reflected in the command line preview box. This order is especially important if your tool uses positional arguments.
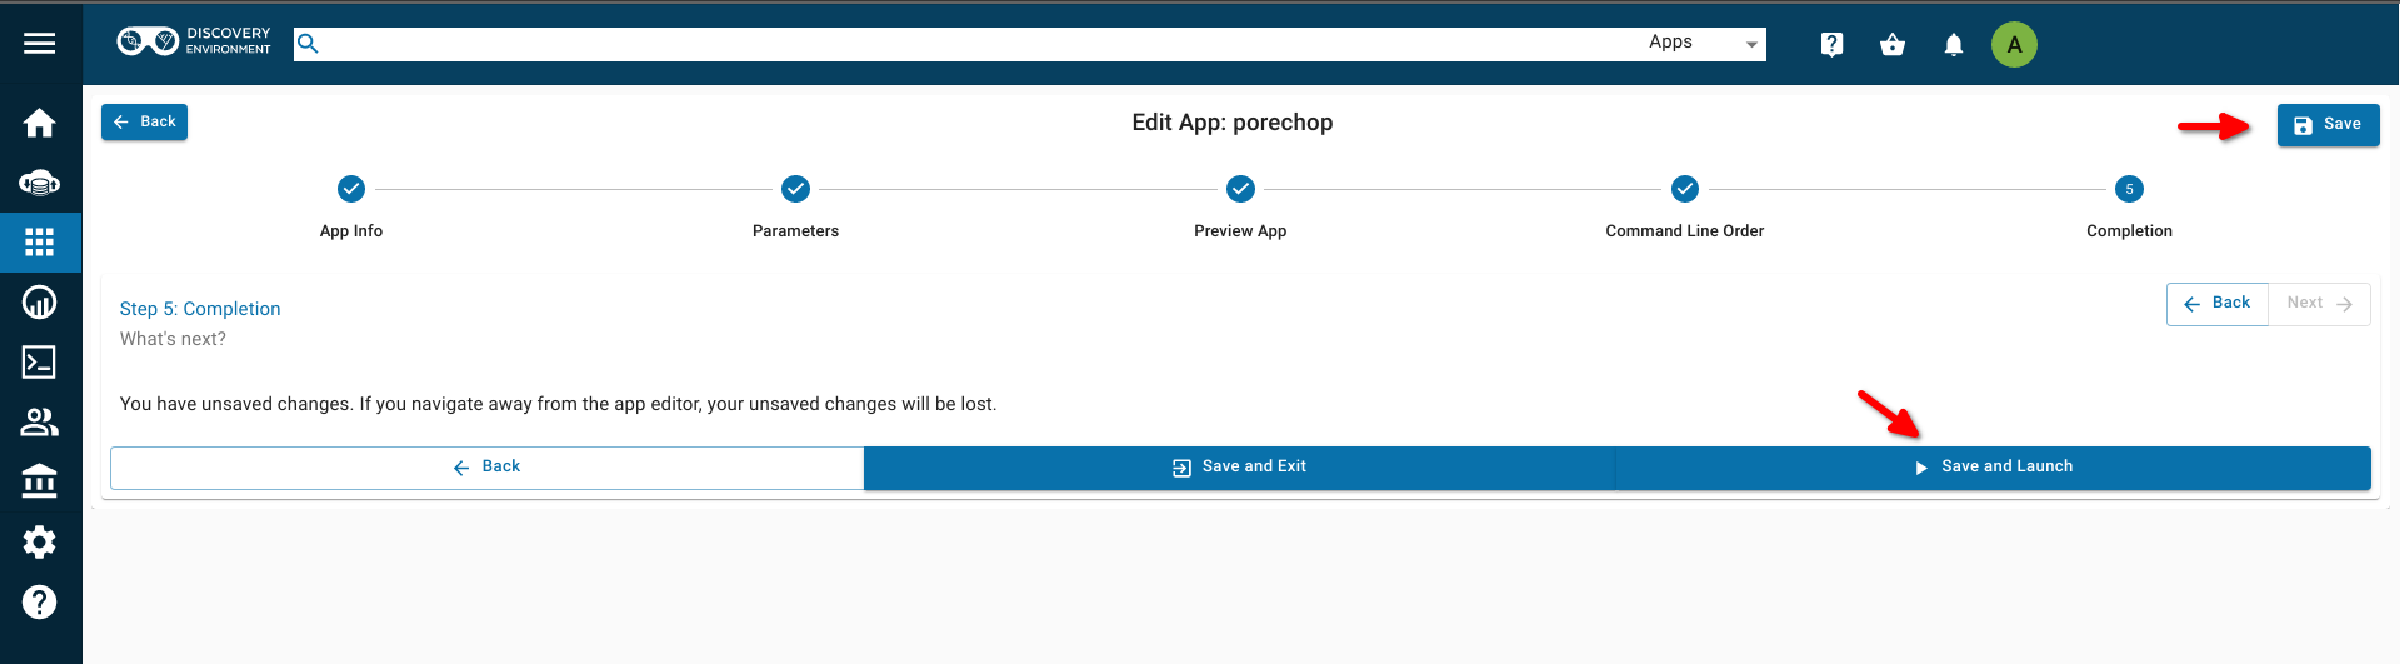
Step 5: Completion
Click 'Save' (upper right) to save your work. Then click 'Launch App' at the bottom of the page and test your app with appropriate data.
If you need to make changes to your app after testing, you can find it under the 'Apps under development' section of the 'Apps' tab. Click on the three dots menu (to the right of your app) and select 'edit app'. This will re-open the apps editor and allow you to make changes.
Once you know your app works correctly you can share or publish it as you wish. Public apps must have example data located in an appropriately named folder here:
`/iplant/home/shared/iplantcollaborative/example_data`
All public apps also have a brief documentation page on the CyVerse Wiki
To publish your app click on the three dots menu (at the right of your app) and select 'Publish'. You will need to supply:
- location of the example data
- brief description of inputs, required options and outputs
- link to CyVerse Wiki documentation page
- link to documentation for the tool (provided by the developers)